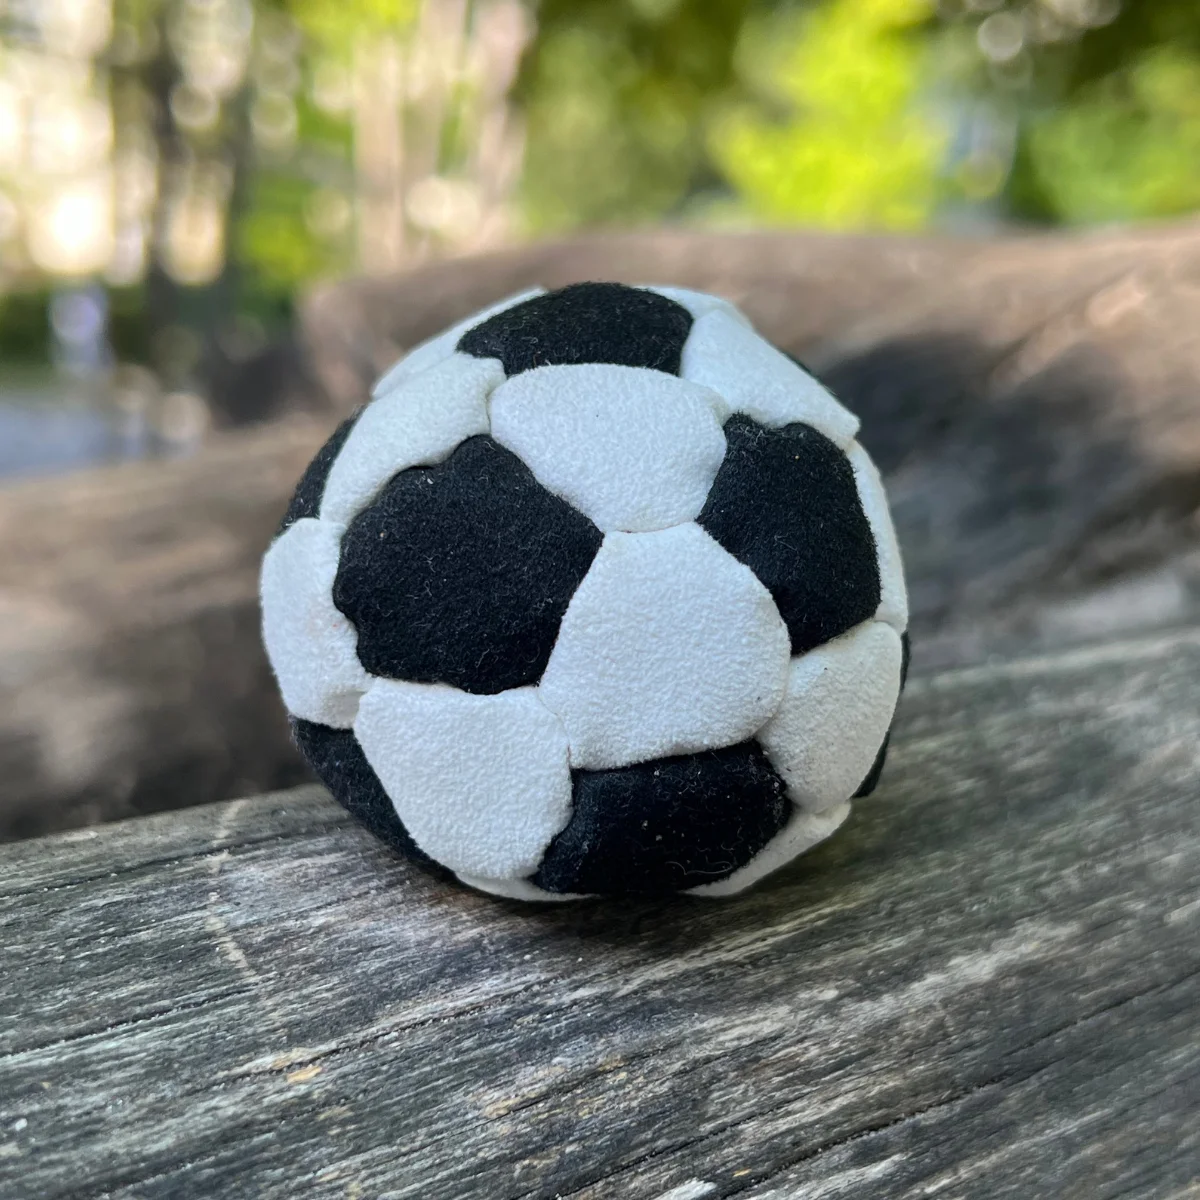
Why repair beats replace
Seams loosen, panels fray, fill leaks out — even good bags wear. Repairing saves money and keeps a bag you’ve broken in. A needle, strong thread, and a little patience usually restore playability.
What you’ll need
- Strong polyester or nylon thread and a sturdy needle
- Optional fabric glue for tiny holes or knot sealing
- Matching fill (plastic pellets or sand)
- Scissors and tweezers for frayed edges
Craft stores and online sellers carry all of it. Premium bags deserve premium thread.
Patching small holes
- Inspect and clean: Push escaped fill back in; trim frayed fibers.
- Sew or glue: Close with tight stitches, or apply a thin fabric-glue film on the inside and press edges until dry.
- Test: Squeeze gently; add a second stitch pass or glue layer if anything still gaps.
Fixing open seams
- Open badly damaged stitching fully if needed so you can resew cleanly.
- Use a firm backstitch, or a whipstitch around the panel edge for extra grip.
- Knot securely; a drop of glue on the knot helps. Smooth the seam so it won’t catch on shoes.
Refilling lost material
Common fills:
- Plastic pellets: Light, durable, consistent
- Sand: Nice weight; can leak through larger gaps
- Rice or lentils: Cheap temporary option; less durable
Use a funnel or spoon through an open seam. Don’t overfill — the bag should stay soft enough to cup on the foot. Close the seam carefully when the feel is right.
Mistakes to avoid
- Stitches too wide (fill escapes again)
- Wrong fill that changes weight and bounce
- Unsecured thread ends that unravel mid-session
Bottom line
Small holes, blown seams, thin fill — all fixable. Maintain and mend and you’ll get years more from a bag you already like. When it’s truly done, replace it from our shop.
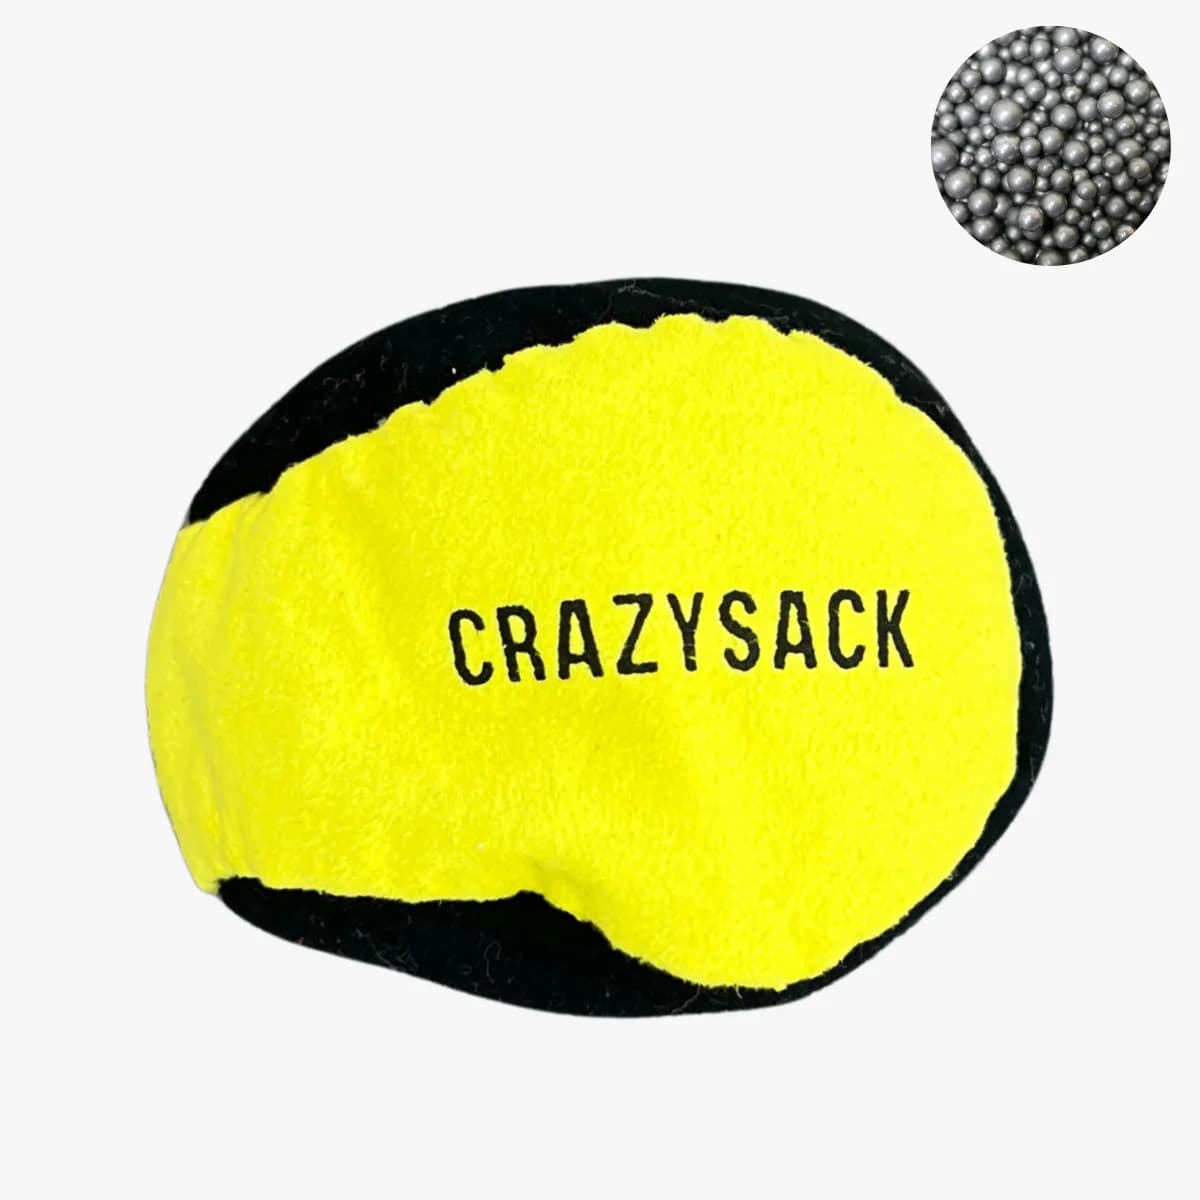
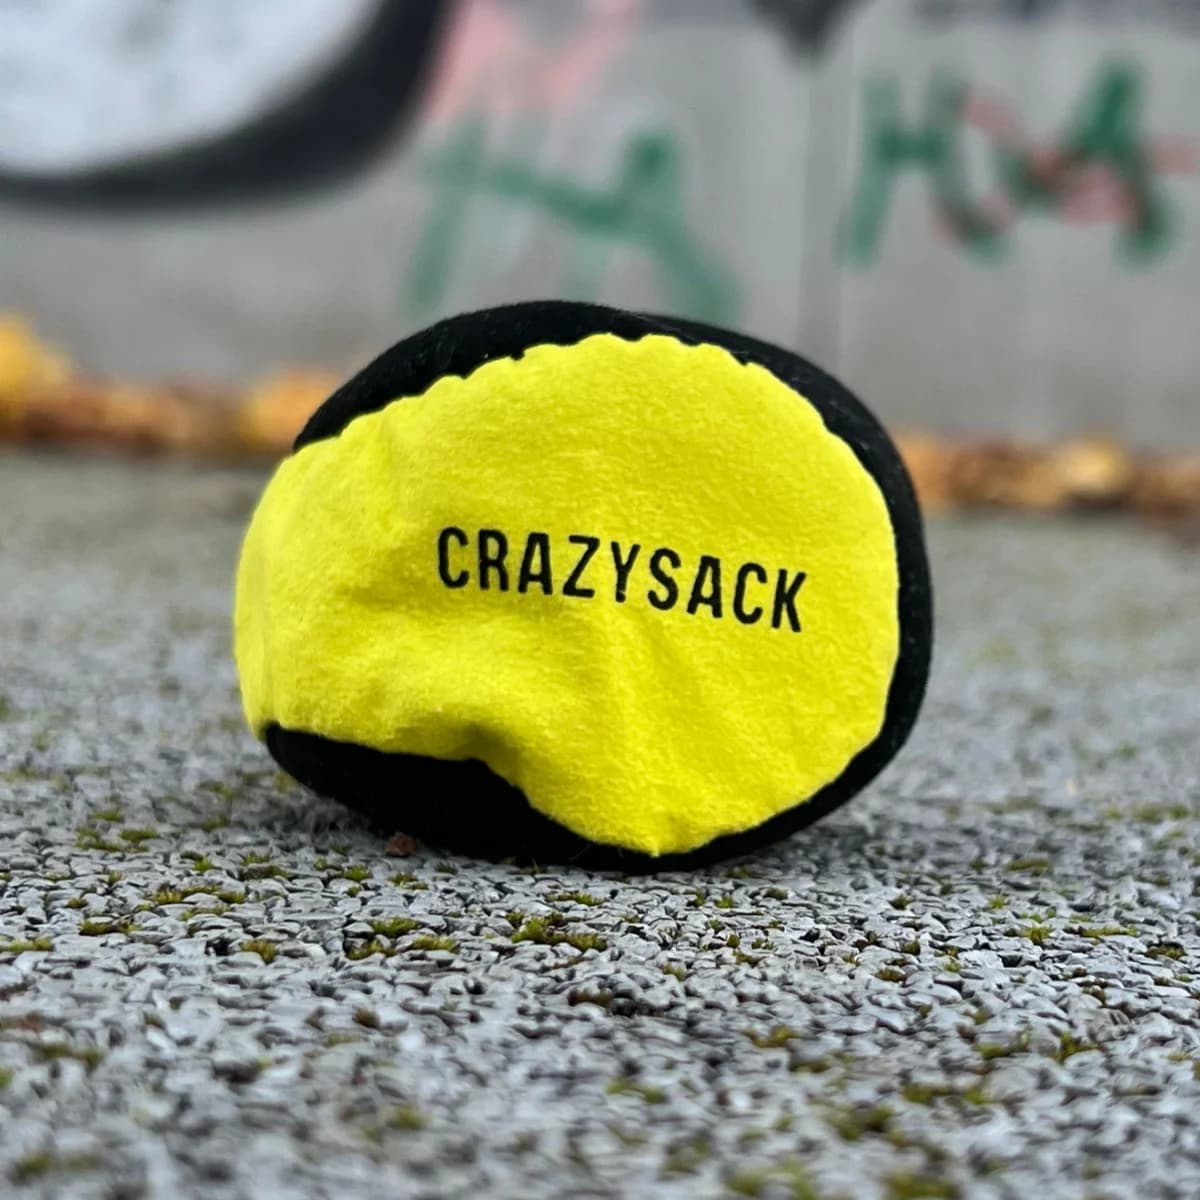
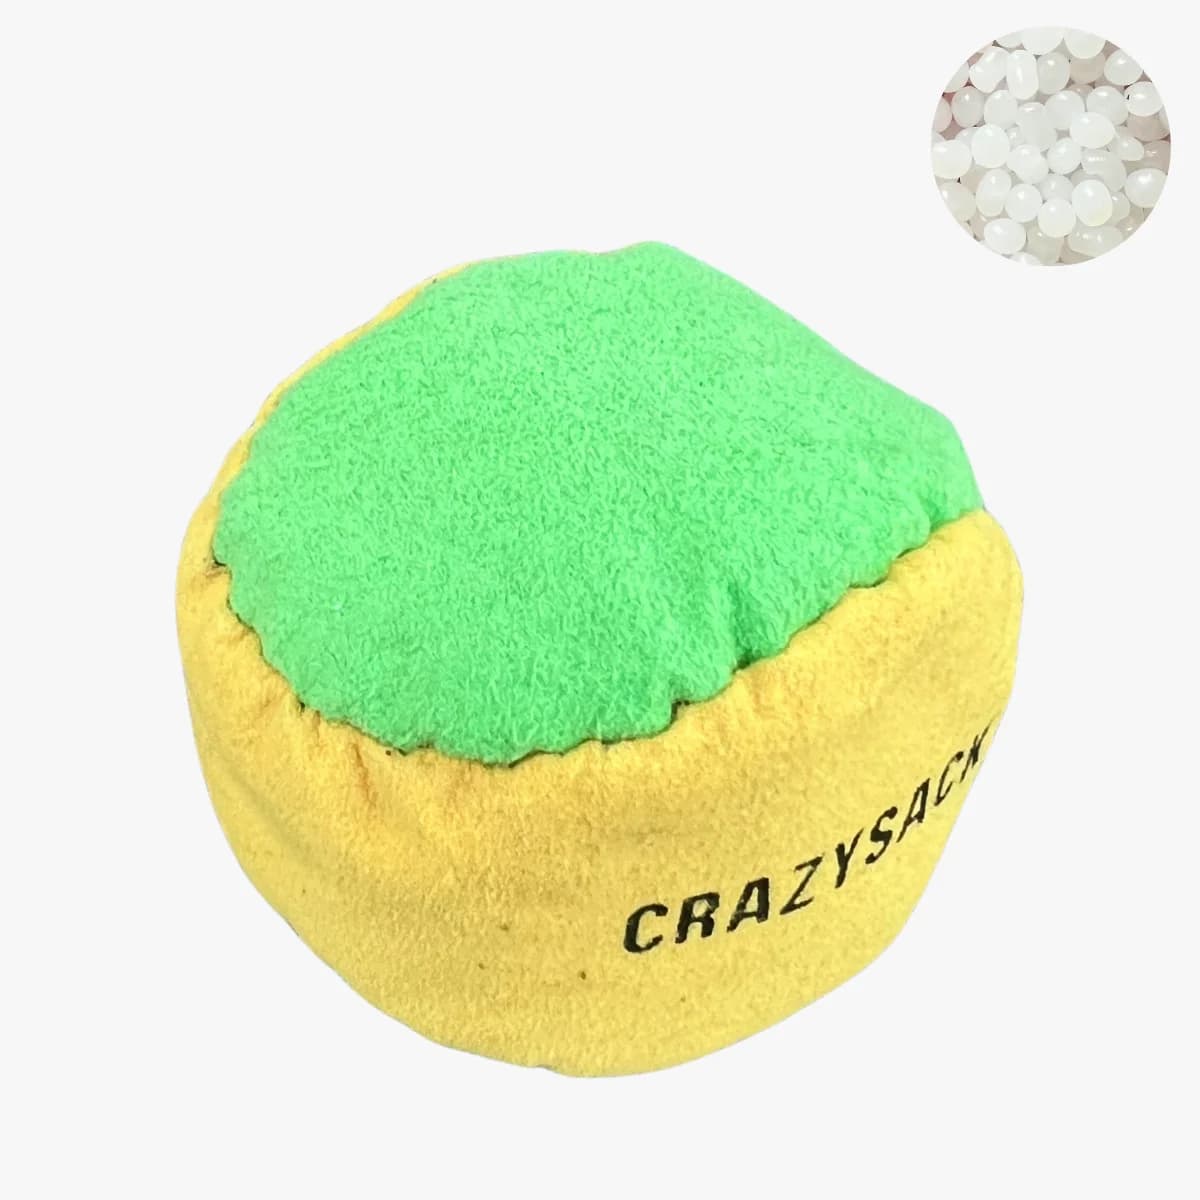
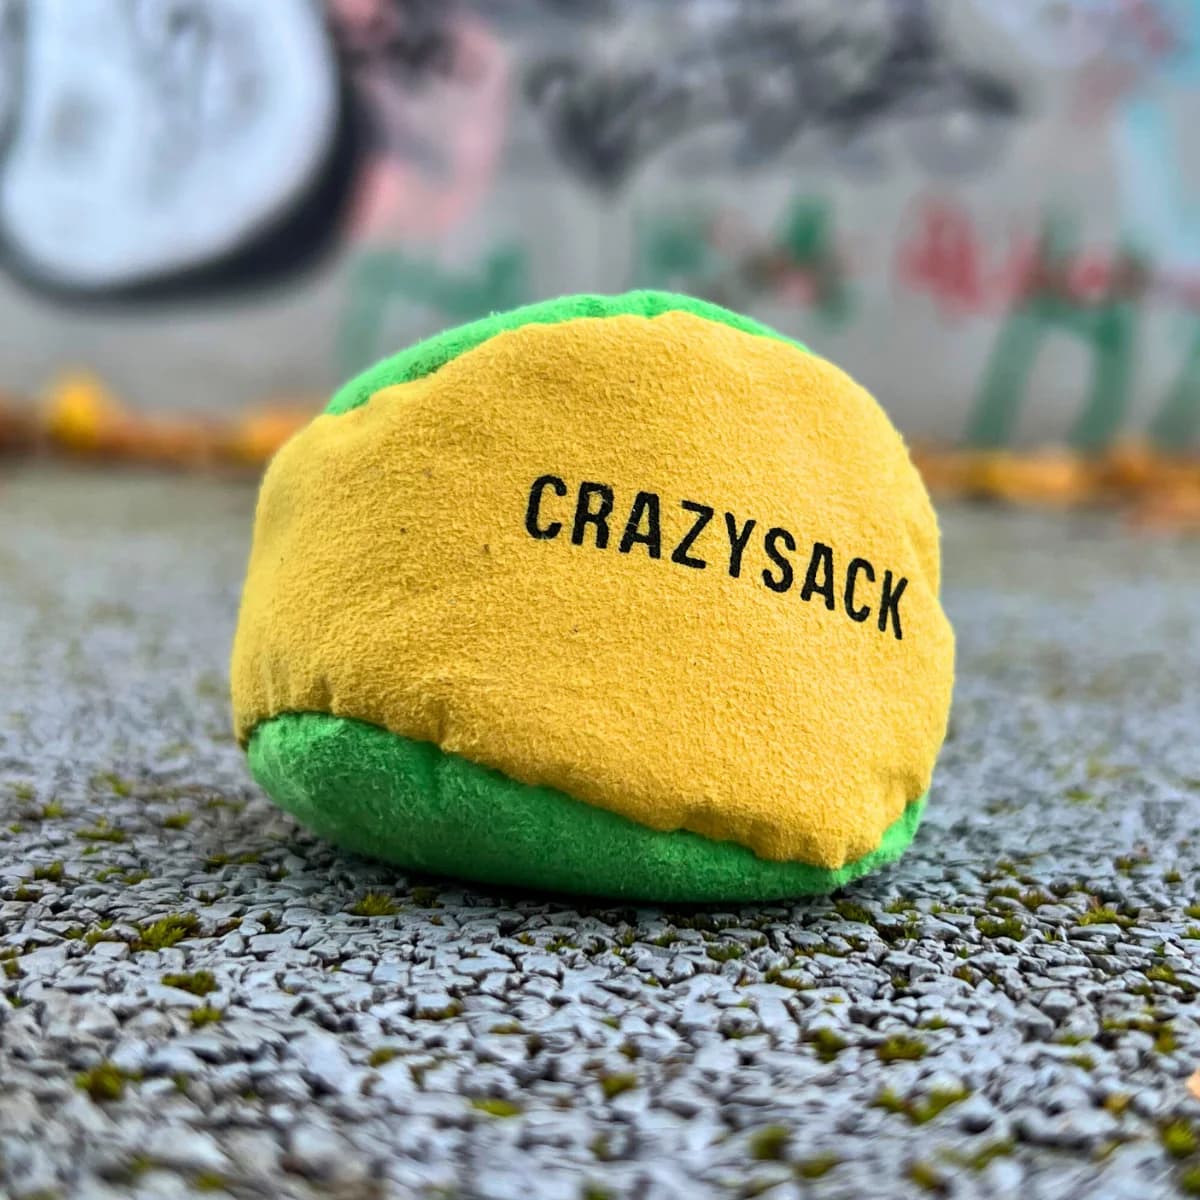
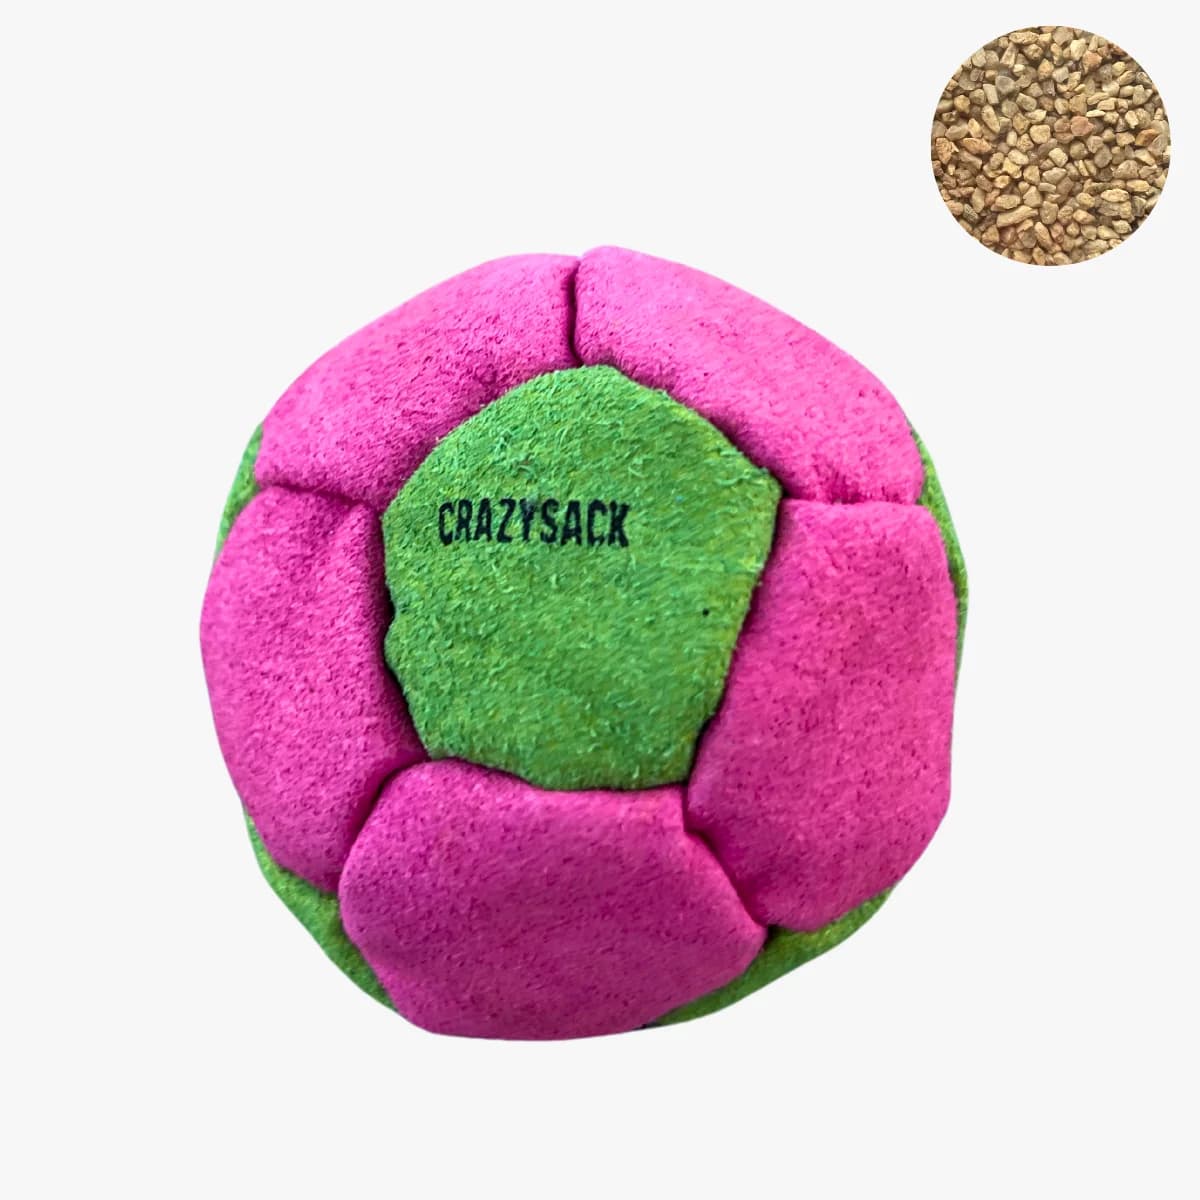
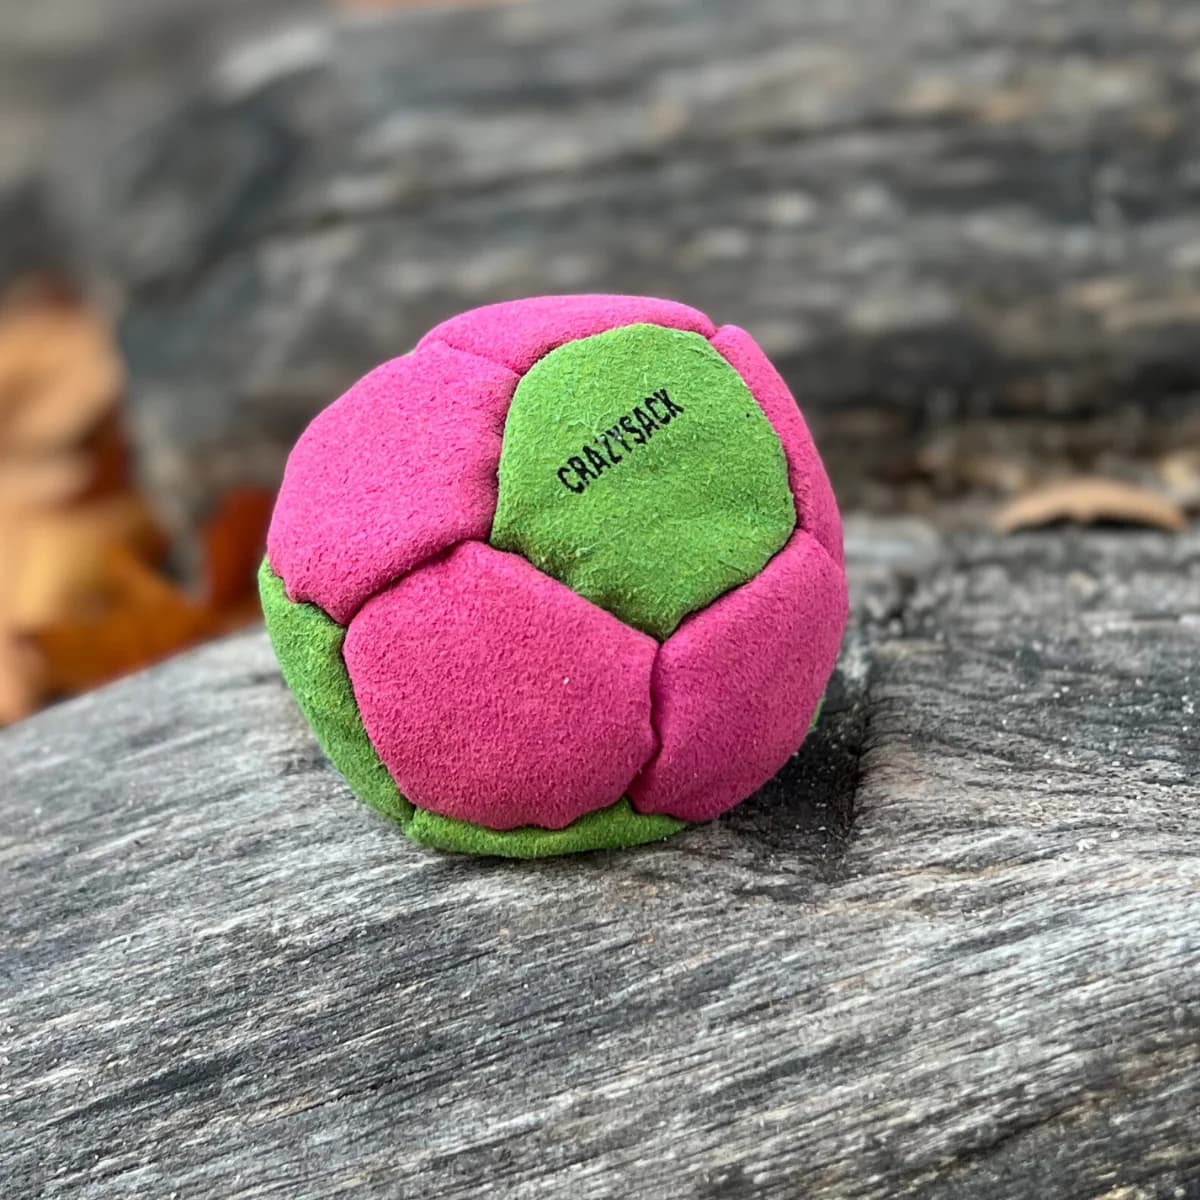
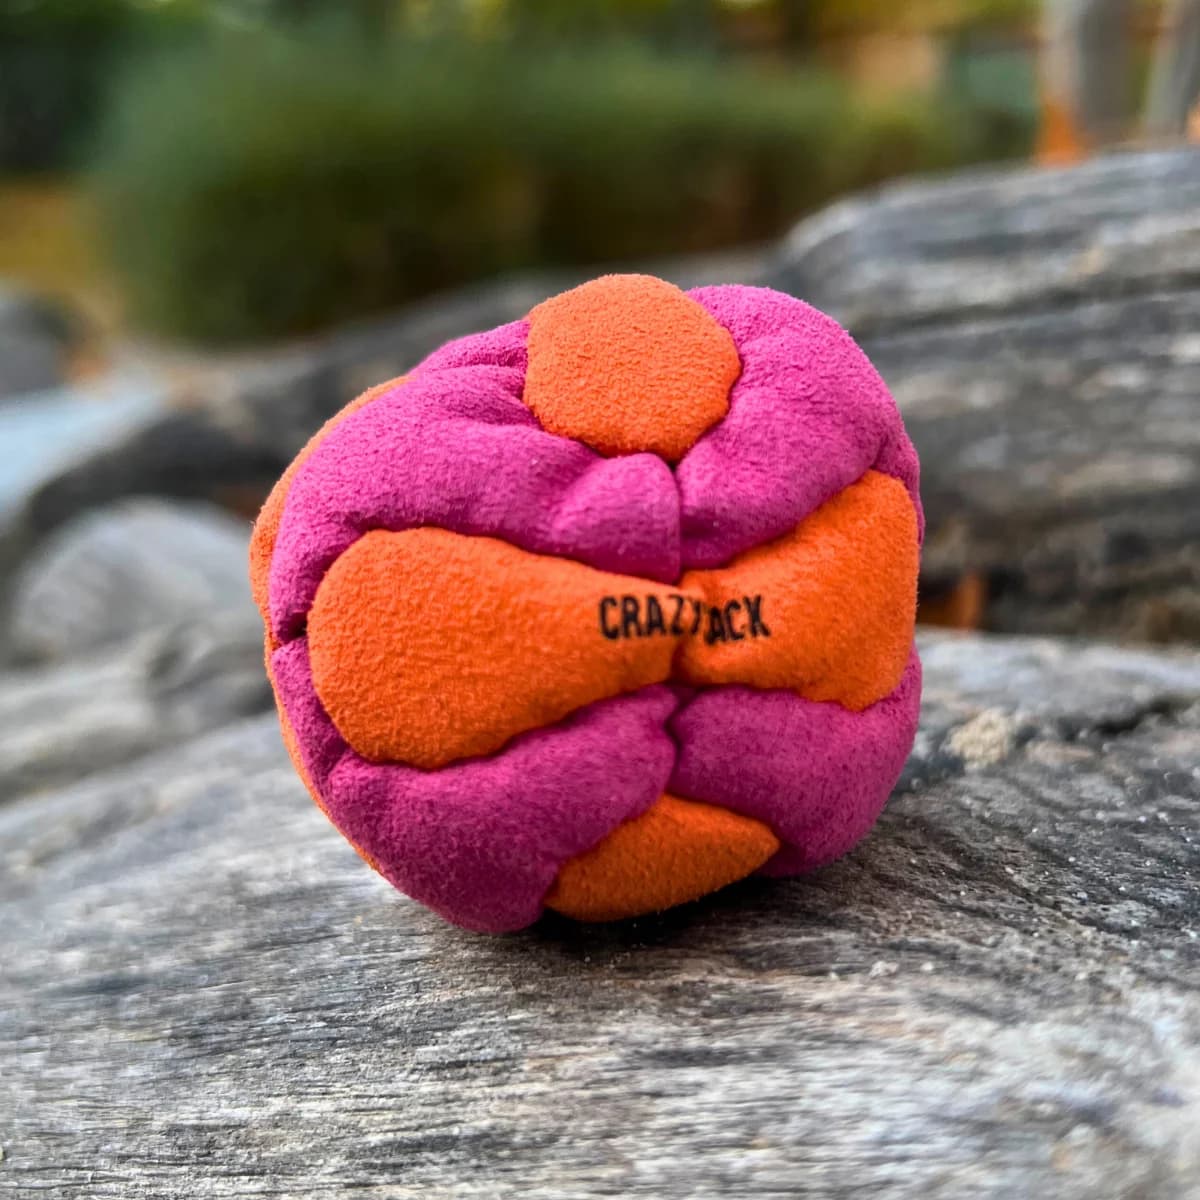
Matching footbags from our shop
Hand-stitched in Germany, ready to ship.

You might also like
How to Care for a Hacky Sack for Longer Life
Clean, dry, store, and repair your footbag the right way — material-specific tips so your hacky sack stays round and playable.
1 min read
Footbags for Beginners: How to Start the Right Way
Beginner footbag guide — choose the right bag, learn stalls and kicks, avoid common mistakes, and build a simple practice habit that sticks.
2 min read
How to Care for and Maintain Your Footbag
Clean, condition, and store your footbag the right way so it keeps its shape, feel, and durability for years of play.
2 min read